How to configure Inbound Email with OAuth
1. Intro
This guide will explain how to configure an inbound email connections using a previously configured OAuth Provider.
As example we will use a Microsoft account, however the steps should be similar for other providers
In this guide we will be configuring a personal account using a group OAuth Provider. Group OAuth providers are meant to be used by many users in the system.
As an admin you can create three types of records:
-
Personal
-
These are only accessible by the user that created them
-
Personal records are meant to be used when configuring access to personal accounts, like 'john.doe@example-inc.onmicrosoft.com'.
-
These accounts configuration is only accessible by the account owner and system administrators
-
-
Group
-
Records that will be used by many users
-
Group records are meant to be use by accounts in a domain that are meant to be used by several users, e.g. all members of the support team would have access to
support@example-inc.onmicrosoft.com.
-
-
Bounce
-
Records meant to be used just for reading Campaings bounce emails
-
If you haven’t yet configure the OAuth Provider or don’t know how to, please have a look at How to configure a Microsoft OAuth Provider Guide
2. Create an OAuth Connection
Login into you SuiteCRM instance
That should take you to the "External OAuth Connections" module list view
This module is the one that will keep the reference of all the existing OAuth Connections. It stores the tokens generated after the authentication.
Lets create a new Personal OAuth Connection. click on "Personal OAuth Connection"
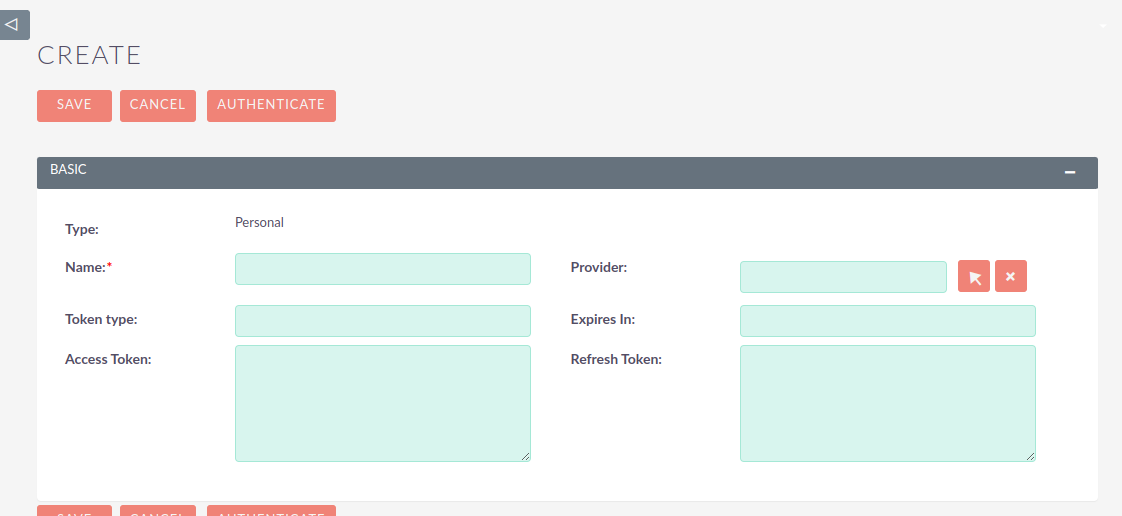
This should take you to the creation view.
Add a meaningful name to your connection, it can be the username of your account, or something that helps you identify and differentiate the connection from other existing connections.
Now select on the "Provider" field, select the Microsoft OAuth Provider that you previously created.
After selecting the provider it is time to authenticate, click on the "Authenticate" button.
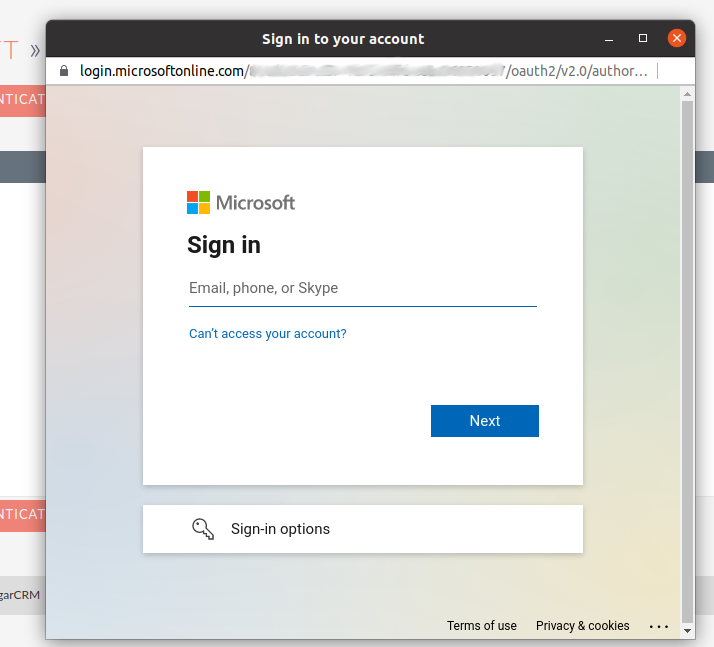
When clicking the button a popup window should display with the Microsoft page for Authentication.
After going through all the authentication popup steps, the popup should close and the fields on the External OAuth Connection record should be populated.
Do not store or share any of the tokens. These work almost as passwords. They are sensitive information.
Go ahead and save your record.
3. Configure an Inbound Email Account
Now it is time to create an Inbound Email Account. Click on the "Inbound Email Accounts" sidebar menu link.
This should take you to the Inbound Emails module list view.
Lets create a new Personal Inbound Email Account. click on "New Personal Inbound Email Account"
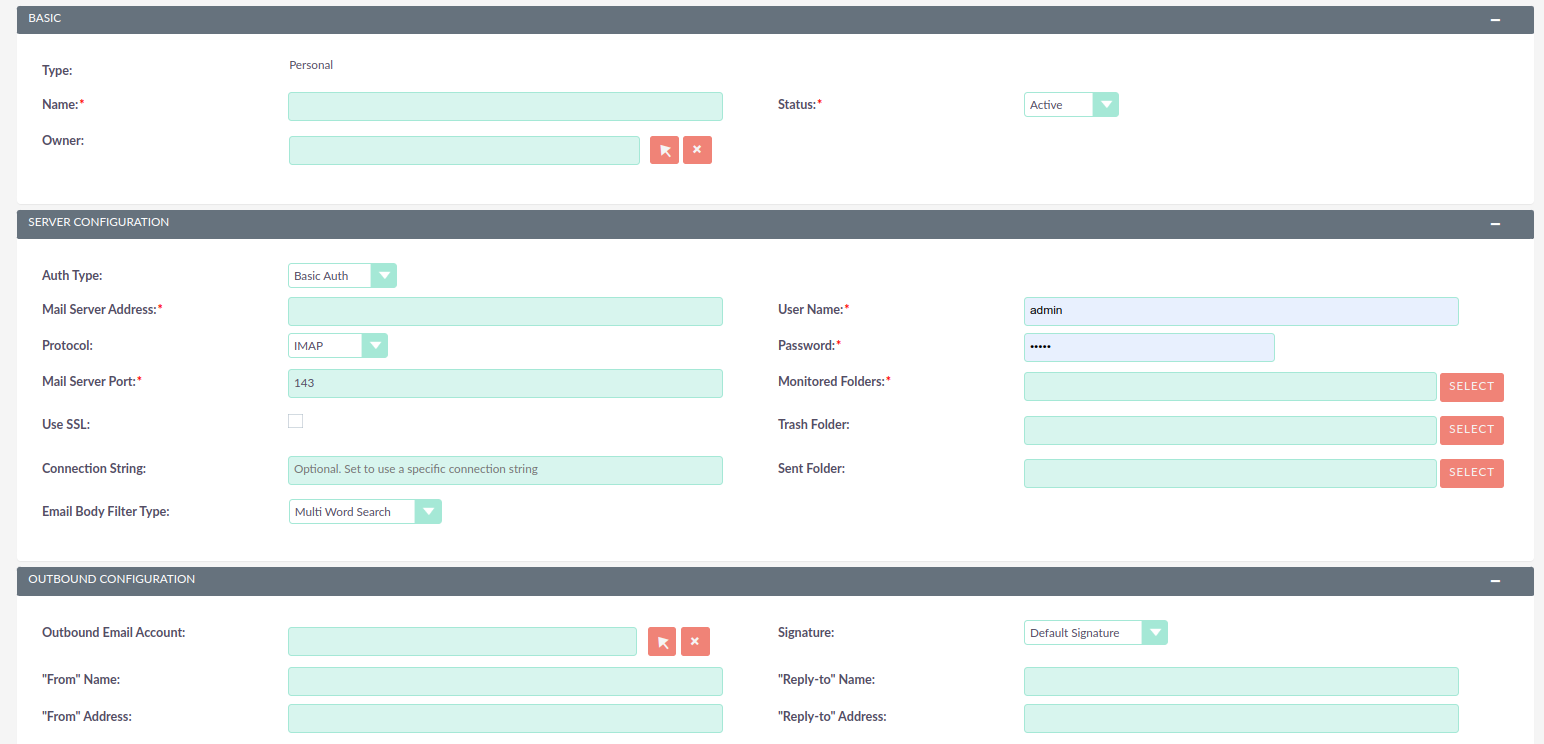
This should take you to the create view
Add a meaningful name to your inbound, it can be the username of your account, or something that helps you identify and differentiate this inbound email account from other existing accounts.
Select the "OAuth" type on the Auth Type field.
By selecting the OAuth type, the "External OAuth Connection" field should now display. Click on the arrow to select the OAuth Connection you created before.
Group Inbound Emails should be linked to Group External OAuth Connection records. If they are linked Personal External OAuth Connection records errors may occur
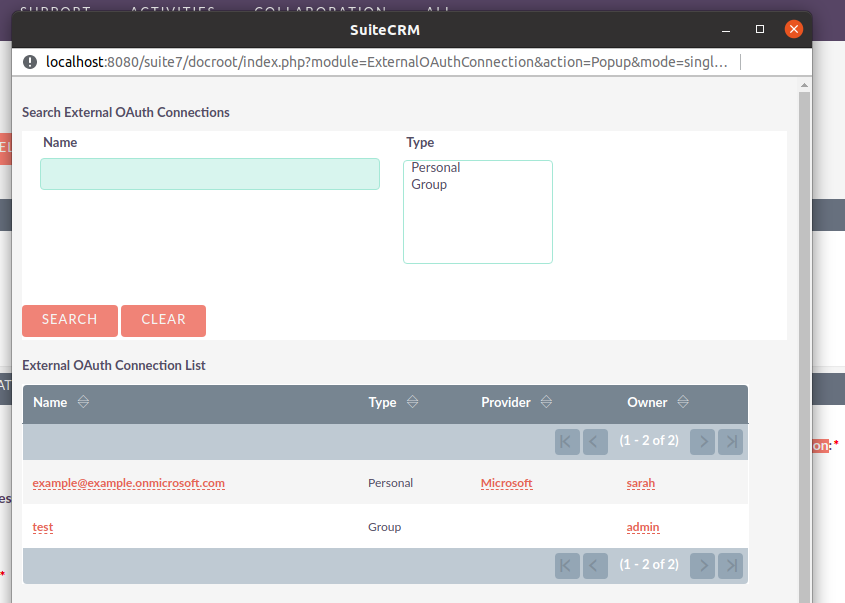
Click on the arrow button should open a popup where you can select the OAuth Connection we’ve created before.
Enter the username for your account. It should be the same you’ve used to create the OAuth Connection.
Enter server address for your account. E.g. for Microsoft it would be outlook.office365.com.
Here we are using a Microsoft account as example. Though you should set the address of the server you are using
Depending on your server configurations enable the ssl and set the port. E.g. for Microsoft you should enable the "Use SSL" checkbox which is going to change the port to "993" which is the default.
Here we are using a Microsoft account as example. Though you should set the port of the server you are using
The Email Body Filtering Search Type allows the user to choose to search using 1 word or a multiword search.
Now set the values for the folders. Click the "Select" button next to each folder to open the popup that will show you the available values.
Do not try to fill these fields before setting the following fields: External OAuth Connection, User Name, Mail Server Address, Mail Server Port, Use SSL. Otherwise you will just see an empty dropdown on the popup.
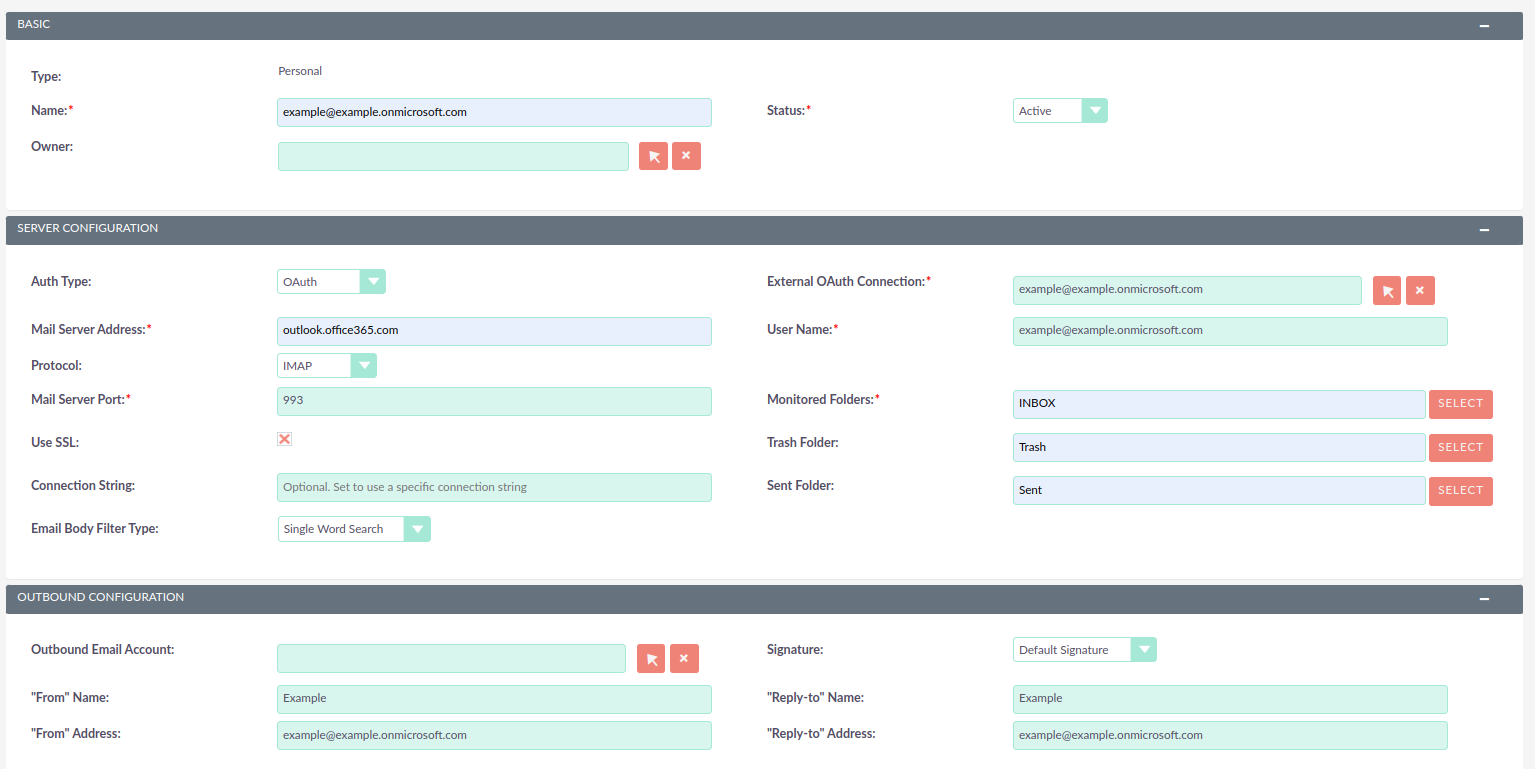
For Microsoft: the following is an example of how the fields should look after being configured:
Next, set the value for the other fields. The following is an example of a fully configure account, except for the "Outbound Email Account" field which is not in the scope of this guide to explain how to configure
Go ahead and save your record.
4. Configure the Inbound Email to display on the Emails module
For the configured account to show on the emails module, you need must go to your profile and select it as one of the accounts to show.
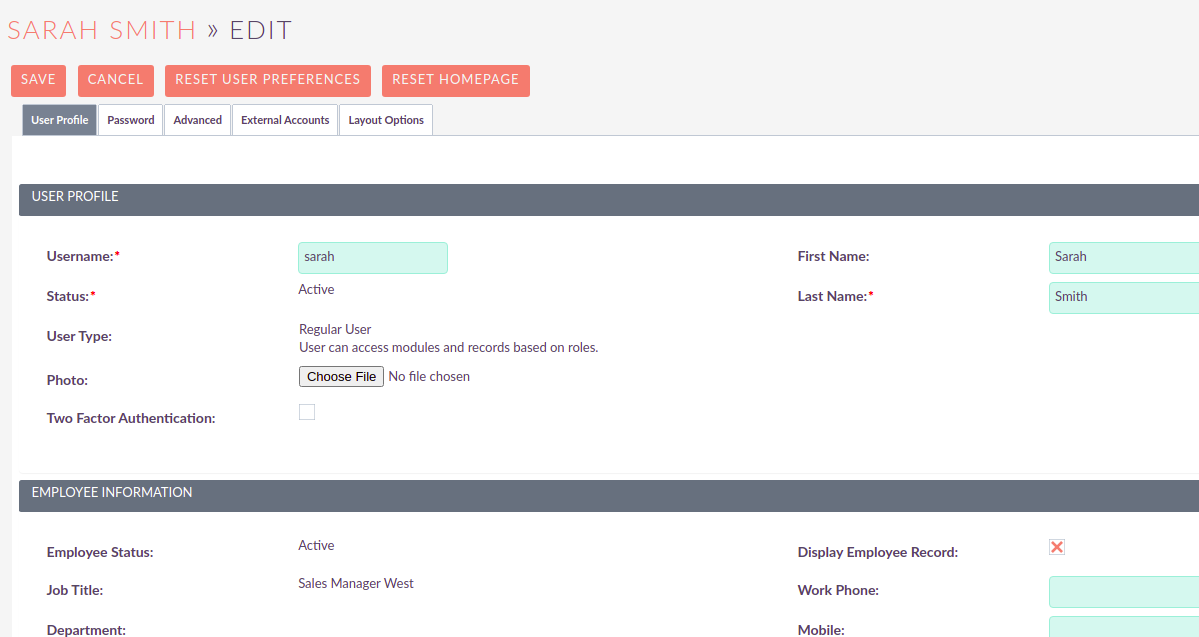
This should take you to the profile page.
Scroll to the end of the page a click on the "Settings" button
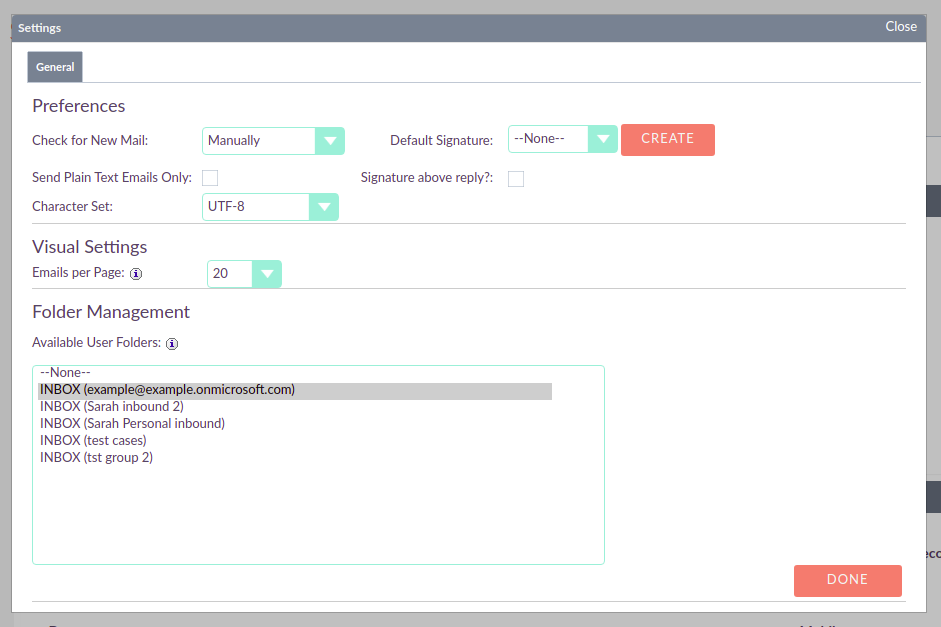
This should open a modal with a "Folder Management" section at the end. On this section select the accounts that should display on your Emails module.
It is possible to select multiple accounts.
Click "Done"
Go ahead and save your profile.
That should be your Inbound Email account configured.
5. Access the configured account on Emails module
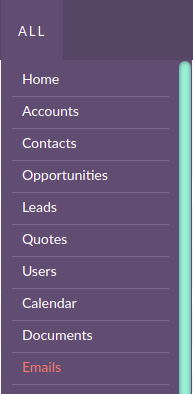
On the menu click on the "Emails" module link
On the menu click on the "Emails" module link.
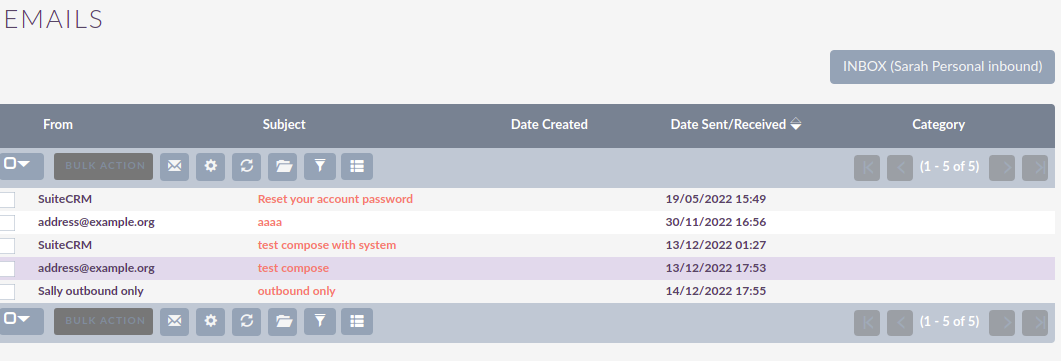
Depending on the number of Inbound Emails you have configured, the inbound you have just configured may not be the one to display by default.
To change to the Inbound Email account you have just configured click on the current inbox button, located on the top right.
A modal should show with the Inbound Email accounts you have configured on the Folder Management within your profile
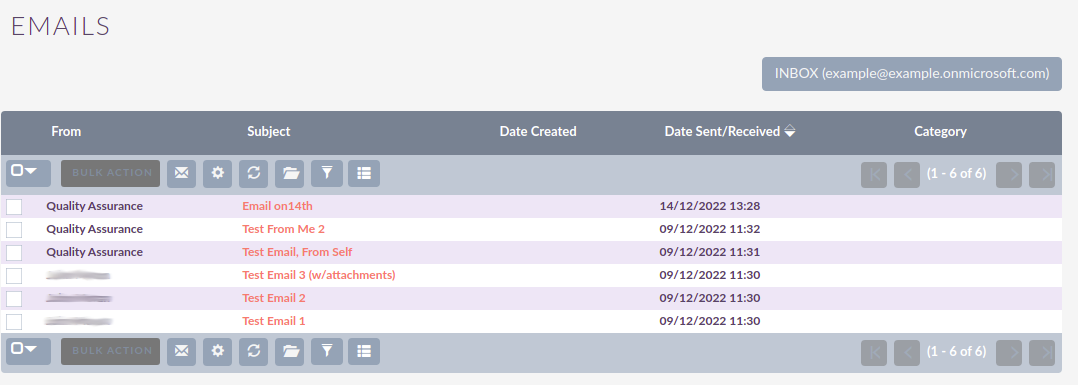
Within the modal, click on the Inbound Email Account you have just configured. That should reload the page and show the Inbound Email that you configured
