Events
Events Locations
The Locations module is used to capture the venue/site information where events are held.
Creating Locations
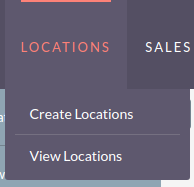
1. Hover over the Locations module on the navigation bar and select 'Create Location'.
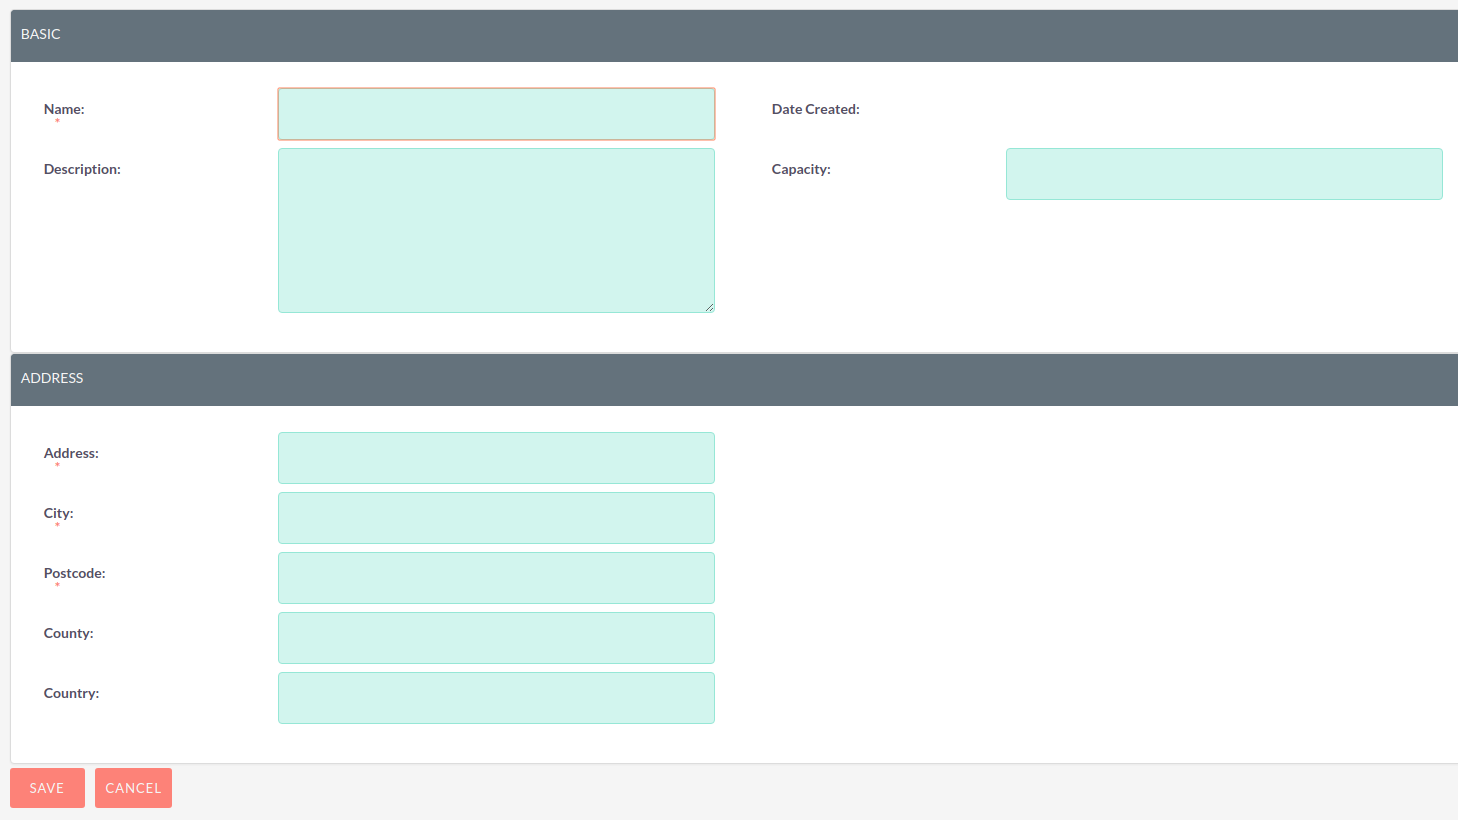
2. This will take you to the Edit View. Enter information into the appropriate fields, all required fields are marked with a red asterisk and must be completed prior to saving.
3. Once the necessary information is entered, click Save
Events
The Events module is used to capture information an particular event and send out invites to delegates. To view the Events held within the system click the 'Events' tab on the navigation bar. This will take you to the Events List View.
Creating Events
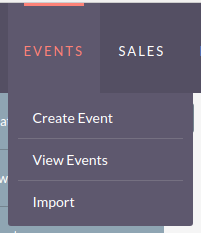
1. Hover over the Events module on the navigation bar and select 'Create Event'.
2. This will take you to the Edit View. Enter information into the appropriate fields, all required fields are marked with a red asterisk and must be completed prior to saving.
The following fields are found on the Events module:
-
Name – The name of the event
-
Start Date – The date and time of when the event starts
-
End Date – The date and time of when the event ends
-
Duration – The duration of the event. This will automatically change the end date or be altered automatically if the end date is changed.
-
Location – This is a relationship to the Event Locations module.
-
Budget – The budget for the event.
-
Email Invite Template – The Email Template that will be sent to associated Delegates.
-
Accept Redirect URL – The web page invitees should be redirected to after you accept an invite using the link provided in the Email Template.
-
Decline Redirect URL – The web page invitees should be redirected to after you decline an invite using the link provided in the Email Template.
-
Description – More information about the Event.
-
Assigned-To – Who the assigned user is for this event. This defaults to you who creates the event.
-
Created By – Which user created the event.
3. Once the necessary information is entered, click Save
Adding Delegates
1. Navigate to the Event Detail View.
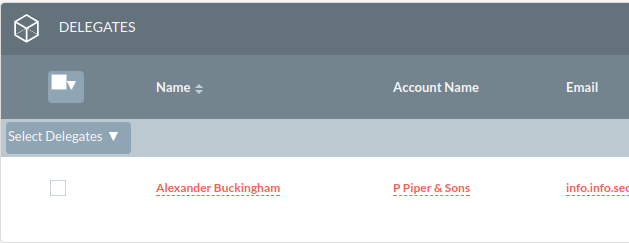
2. Navigate to the Delegates sub-panel found below the 'Event Details' panel.
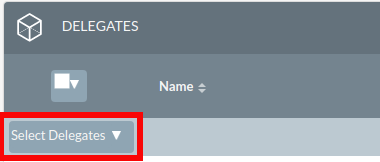
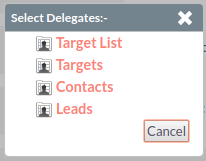
3. Click 'Select Delegates'. A list of options will appear.
4. Select the appropriate option depending on who should be added to the Event.
-
Target List – Select a Target List of individuals to be associated to the event. All Targets, Leads and Contacts on this '''Target List '''will be added to the Event.
-
Targets – Select Targets to be associated to this Event.
-
Contacts – Select Contacts to be associated to this Event.
-
Leads – Select Leads to be associated to this Event.
-
Events – Select an Event to associate that Event’s delegates to this Event.
5. Once an option has been chosen a new pop-up box will appear to search and select records from the module type that was chosen.
6. The Delegates sub-panel will populate with the records selected.
Sending Invites To Delegates
1. Navigate to the Delegates sub-panel.
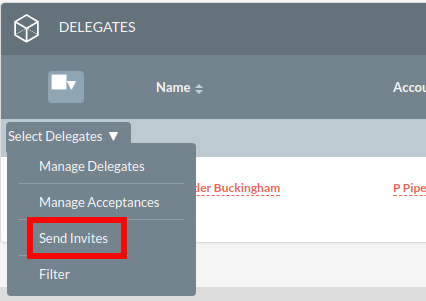
2. Choose action 'Send Invites'.
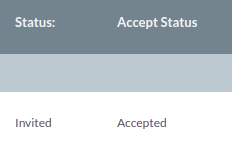
3. This will send the email template selected in the 'Email Invite Template' to all Delegates who have the status 'Not Invited'
4. Once selected the Delegate status will automatically update to 'Invited'.
5. Choosing 'Resend Invites' will send invites out to all Delegates associated to the Event who have yet to respond.
Managing Delegates Acceptance Manually
1. Navigate to the Delegates sub-panel.
2. Select the Delegates that require your 'Accept Status' to be updated.
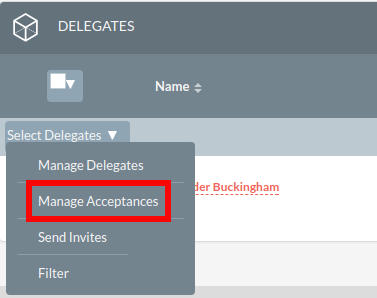
3. Choose action 'Manage Acceptances'
4. A list of options will appear. Select appropriate statuses:
5. This will update the Delegates 'Accept Status' accordingly.
Acceptance will my automatically updated if the Delegate chooses to accept using the link provided in the email template.
Updating Delegates Status Manually
1. Navigate to the Delegates sub-panel.
2. Select the Delegates that require your attendance to be updated.
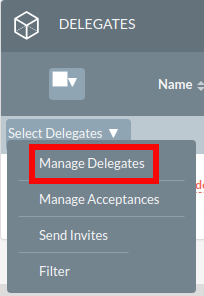
3. Choose action 'Manage Delegates'
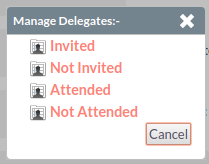
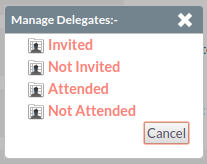
4. A list of options will appear. Select the appropriate status; Invited, Not Invited, Attended or Not Attended.
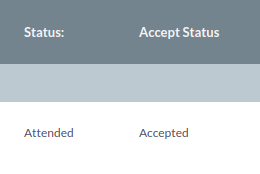
5. This will update the Delegates 'Status' accordingly.
Acceptance will be automatically updated if the Delegate chooses to accept using the link provided in the email template.
