User Wizard
The User Wizard guides you through the configuration options available to you post login. This allows you to select many formats for data that will display in SuiteCRM, and these are specific to your user account.
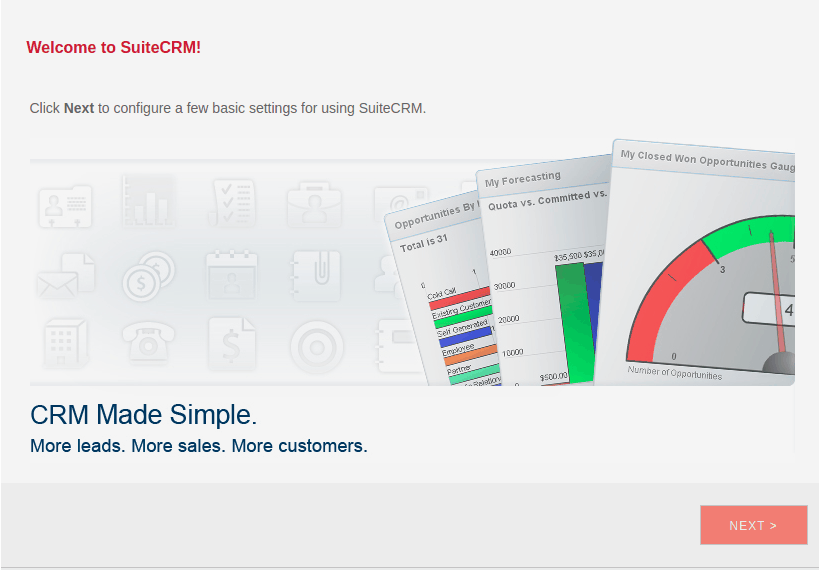
Welcome to SuiteCRM
Once logged in, a simple welcome page will be displayed. Click Next on this page to start to configure your user preferences.
Your Information
On this screen you are able to provide information about yourself. When you provide this information, other users can view it, such as your Full Name, Email Address and Contact details. Fields marked with a red star(*) are required fields, and as such need to be filled in with valid data before you can progress.
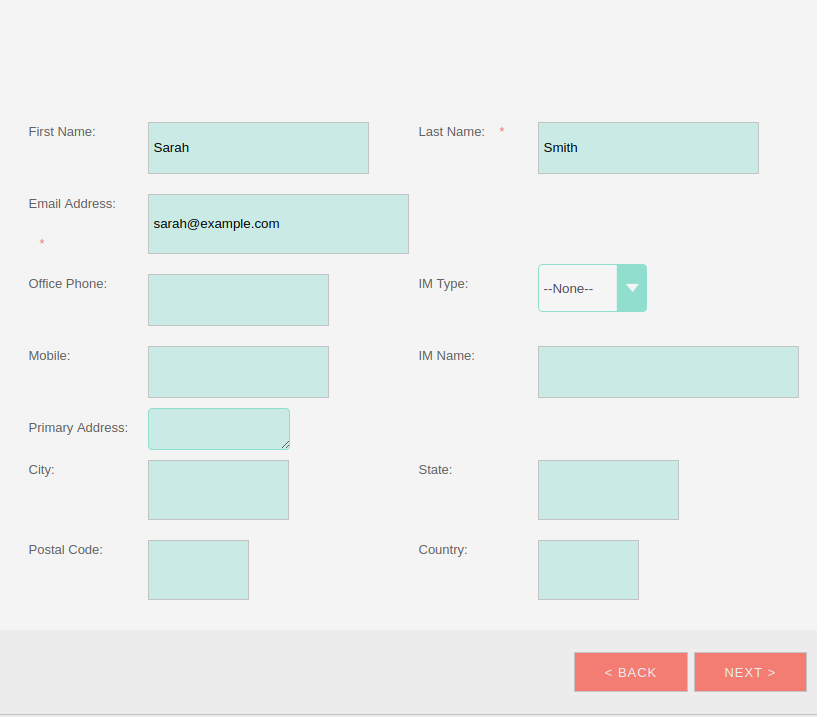
Once you have completed all the information on this page, click Next to progress to the next step in the wizard.
Your Locale
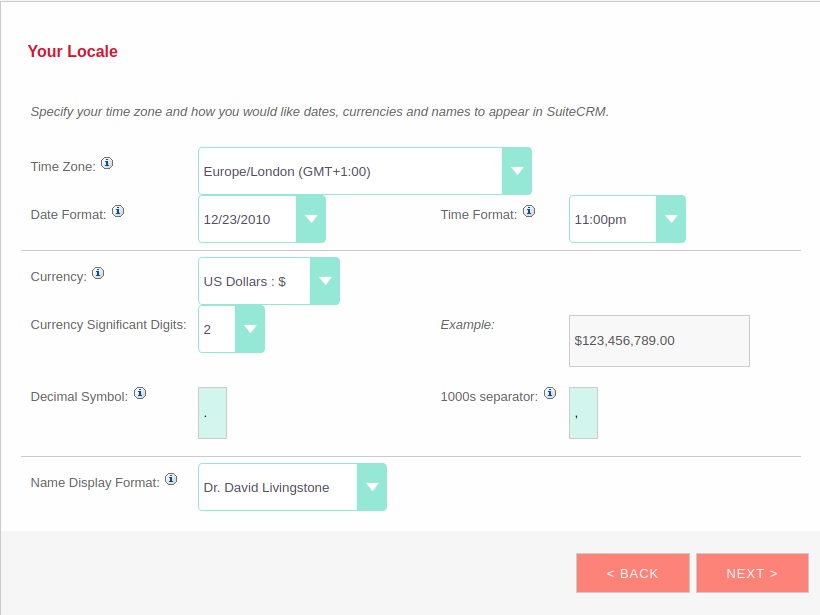
On this screen, you are able to specify your preferred Locale settings.
Currency Selection
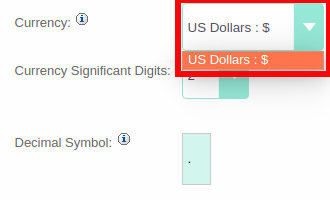
Select the Currency you wish to be displayed for all Currency fields within SuiteCRM. The Currency options are populated by the System Administrator. If there are Currency options you require but are not available, please contact your System Administrator.
Date Format
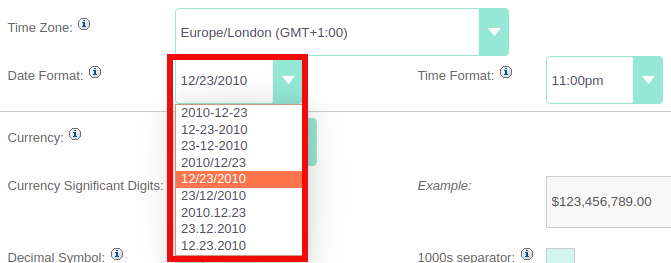
Select the Date Format you wish to use for all Date fields within SuiteCRM. There are many different date format options to select from, all of which are specific to your user. This date format will also apply to Date Time fields.
Time Zone
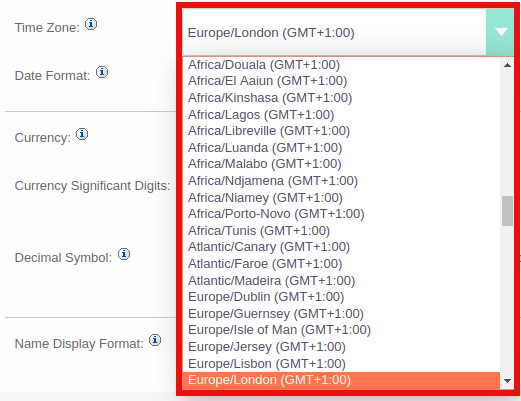
Select the Time Zone you wish to use within SuiteCRM. This allows you to tailor your use of SuiteCRM specific to where you are located globally. If you are travelling between various countries, you can change the Time Zone at any time in your User Preferences after you complete the Wizard set-up.
Name Format
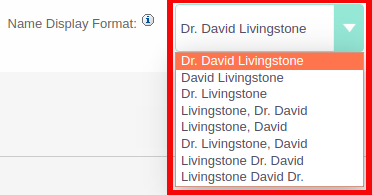
Select your preferred Name Format which all Name fields are to be displayed. This is applicable to the various 'Person' modules within SuiteCRM.
Once you have specified all of your Locale preferences, click Next to progress to the final step/confirmation page of the User Wizard.
Final Step
The final step of the User Wizard provides you with multiple useful links for learning more and obtaining further support from the SuiteCRM website and dedicated team. There is a Back button if you have made any mistakes you wish to amend in previous steps.
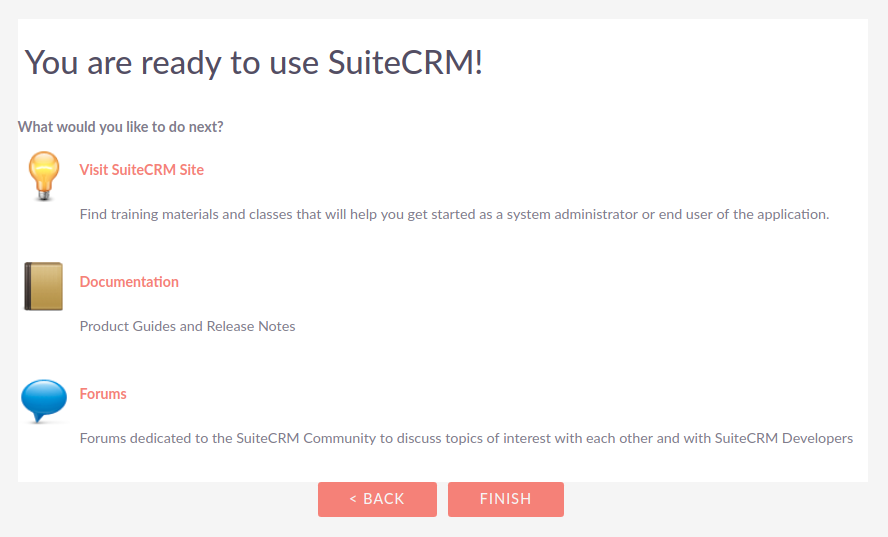
Clicking Finish will complete the User Wizard and will present you with SuiteCRM login form.
Summary
In this chapter, we progressed through the User Wizard. This allows you to set your preferences when using SuiteCRM.
In the next chapter, we will cover managing user accounts, which will discuss how to update user details, select themes, change passwords and more.